Connect to an AI agent
Integrate with AI agents for interactive use cases, such as saving personal, team, and organizational preferences, standards, and policies.
Before you connect
- Generate an API key. In the portal, open Settings>API Keys>Generate API key, enter a name, then copy or download the key before closing the dialog (it starts with
mko_tkn_and is shown only once). - Use the MCP server URL
https://mcp.mekodata.ai/mcp(the same URL appears in any datapack Connect dialog).
For any of the following integrations, replace <paste-your-api-key> with the key you saved. The portal's one-line installer uses that same placeholder.
For the full workflow, see MCP server URL and API key.
Cursor Desktop
Automated setup
In the Meko portal, select Connect and follow the steps.
Manual setup
-
In Cursor Desktop, choose Cursor>Settings>Cursor Settings>Tools & MCPs>New MCP Server.
-
Modify the
mcp.jsonfile that Cursor opens to add the following MCP server configuration.{ "mcpServers": { "meko": { "url": "https://mcp.mekodata.ai/mcp", "headers": { "API_KEY": "<paste-your-api-key>" } } } }Replace
<paste-your-api-key>with the API key you saved from Settings>API Keys.The result should look like the following:
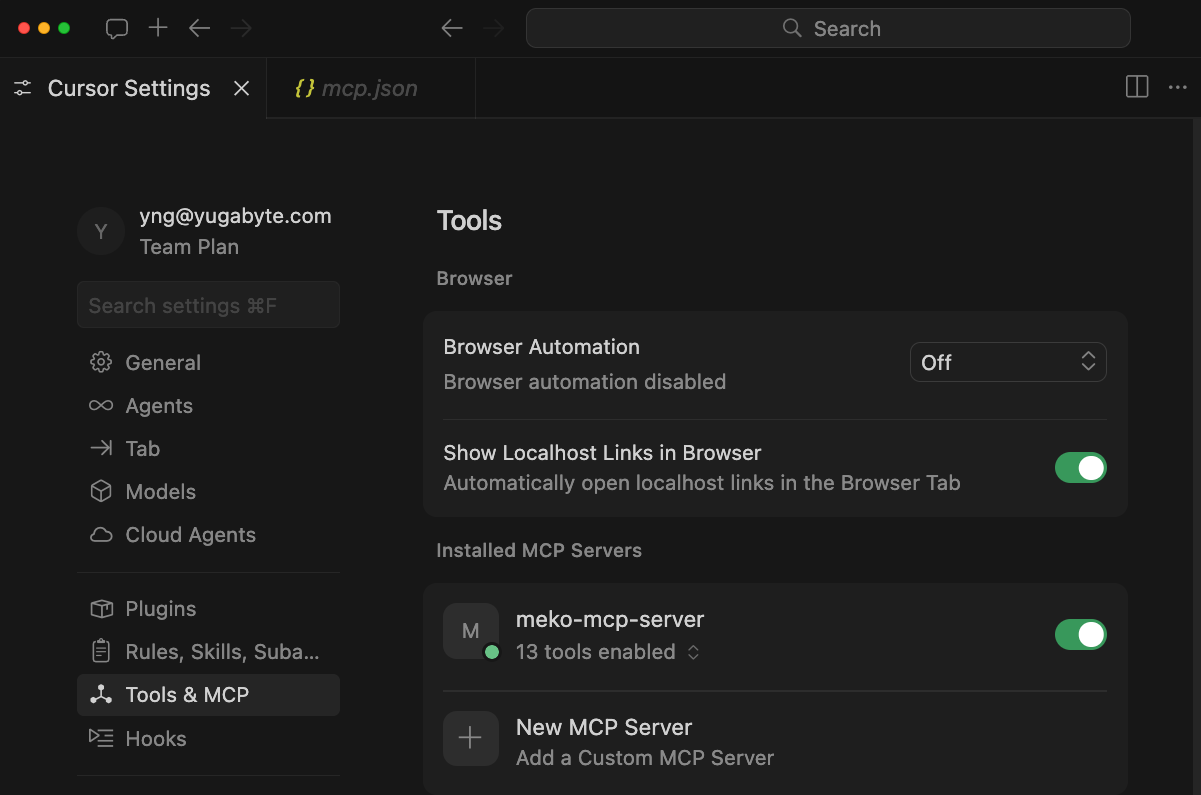
-
Verify the Connection by entering the following in chat.
List my datapacks in Meko
Cursor Web
This section is under development. Check back soon.
Claude Desktop
Automated setup
In the Meko portal, select Connect and follow the steps.
Manual setup
In Claude Desktop (whether used for Chat, Cowork, or Code):
-
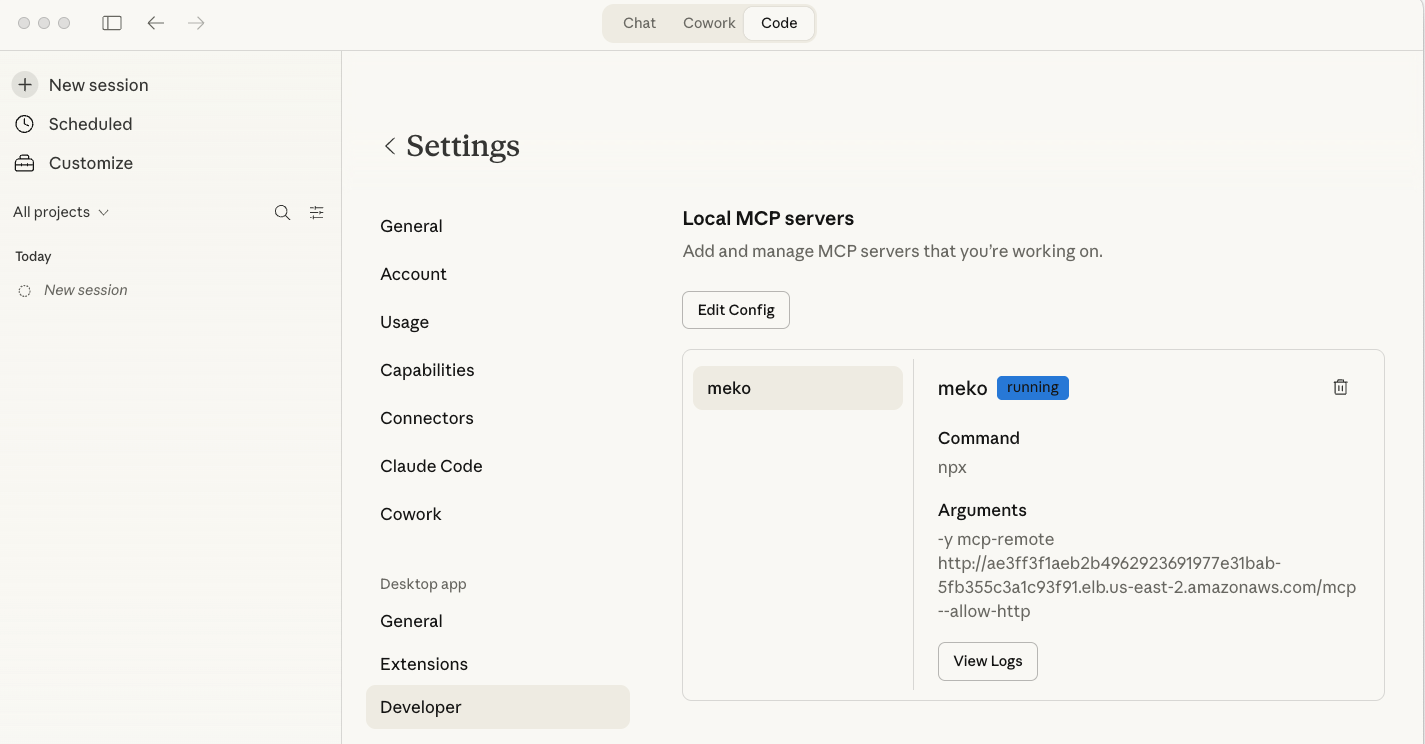
Choose Claude>Settings>Developer>Edit Config.
-
Edit the
claude_desktop_config.jsonfile to add the following MCP Server entry. Replace<paste-your-api-key>with the token you saved.{ "mcpServers": { "meko": { "command": "npx", "args": [ "-y", "mcp-remote", "https://mcp.mekodata.ai/mcp", "--allow-http" ], "env": { "API_KEY": "<paste-your-api-key>" } } } } -
Quit and restart Claude Desktop.
The result should look like the following:
 Handling errors
If you see errors when restarting Claude, examine the log file that appears. Verify that you have the correct version of node.js binaries in your path, use absolute paths, and consult online MCP Server configuration troubleshooting guides.
-
Verify the connection by entering the following in chat:
List my datapacks in Meko
Claude Code
Automated setup
In the Meko portal, select Connect and follow the steps.
Manual setup
-
Run the setup command in your shell to add the Meko MCP server to Claude Code:
> claude mcp add --scope user --transport http meko https://mcp.mekodata.ai/mcp --header "API_KEY: <paste-your-api-key>"Replace
<paste-your-api-key>with the API key you saved from Settings>API Keys. -
Verify the connection by entering the following at the command-line console:
List my datapacks in Meko
Open AI Codex Desktop
Manual setup
-
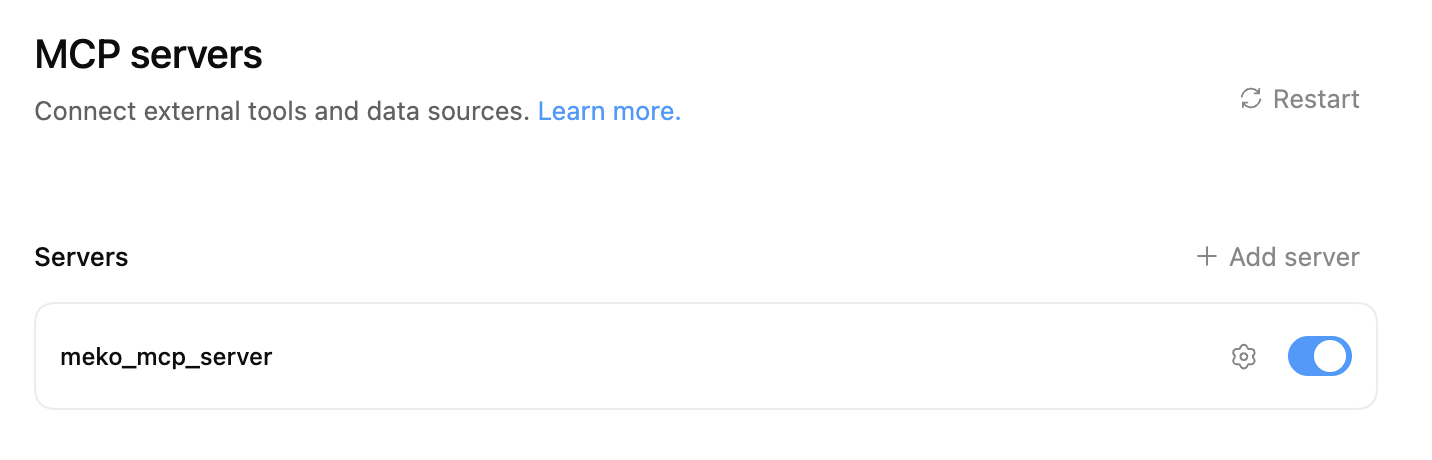
In Codex Desktop, choose Codex>Settings>MCP servers>Add server>Streamable HTTP.
-
Enter a name for the Meko MCP server.
-
Enter the Meko MCP server URL (
https://mcp.mekodata.ai/mcp). -
Enter a name (such as
MEKO_MCP_TOKEN) for the Bearer token environment variable, and click Save.The result should look like the following:
-
Set the
MEKO_MCP_TOKENenvironment variable with your Meko API key in your terminal using the following command:launchctl setenv MEKO_MCP_TOKEN <paste-your-api-key> -
Verify that you set
MEKO_MCP_TOKENcorrectly with your API key.launchctl getenv MEKO_MCP_TOKEN -
Quit and restart Codex Desktop.
-
Verify the connection by entering the following in chat:
List my datapacks in Meko
VS Code
-
Run the following command:
echo "### Installing the latest Node.js ###"
curl -o- https://raw.githubusercontent.com/nvm-sh/nvm/v0.40.2/install.sh | bash
source ~/.$(basename $SHELL)rc
nvm install --lts
echo "### Registering the Meko MCP server ###"
npx mcp-add@latest \
  --name meko \
  --type stdio \
  --command 'npx -y mcp-remote https://mcp.mekodata.ai/mcp --allow-http' \
  --env 'MEKO_API_KEY=<paste-your-api-key>' \
  --headers 'MEKO_API_KEY=<paste-your-api-key>' \
  --scope global \
  --clients 'vscode'
Replace
<paste-your-api-key>with the API key you saved from Settings>API Keys. -
Verify the connection by entering the following in chat:
List my datapacks in Meko